Now that you have installed Vimalin, the first thing to do is to configure it.
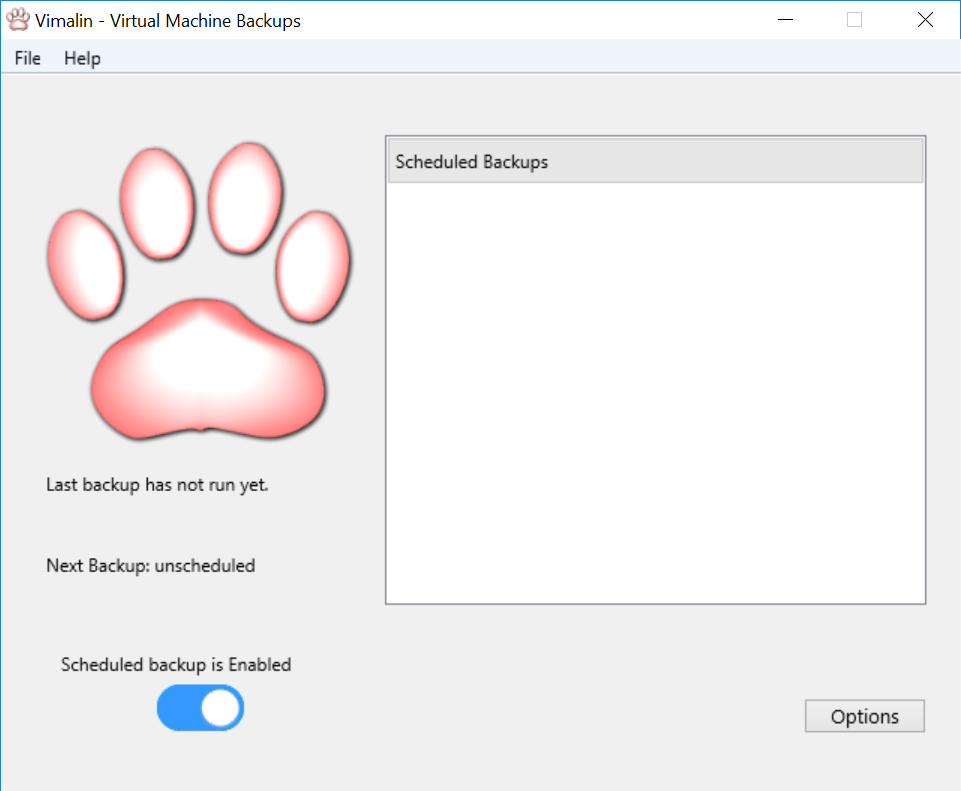
Vimalin – an empty welcome screen
Click on the options button to go to the screen where you can customize your settings.
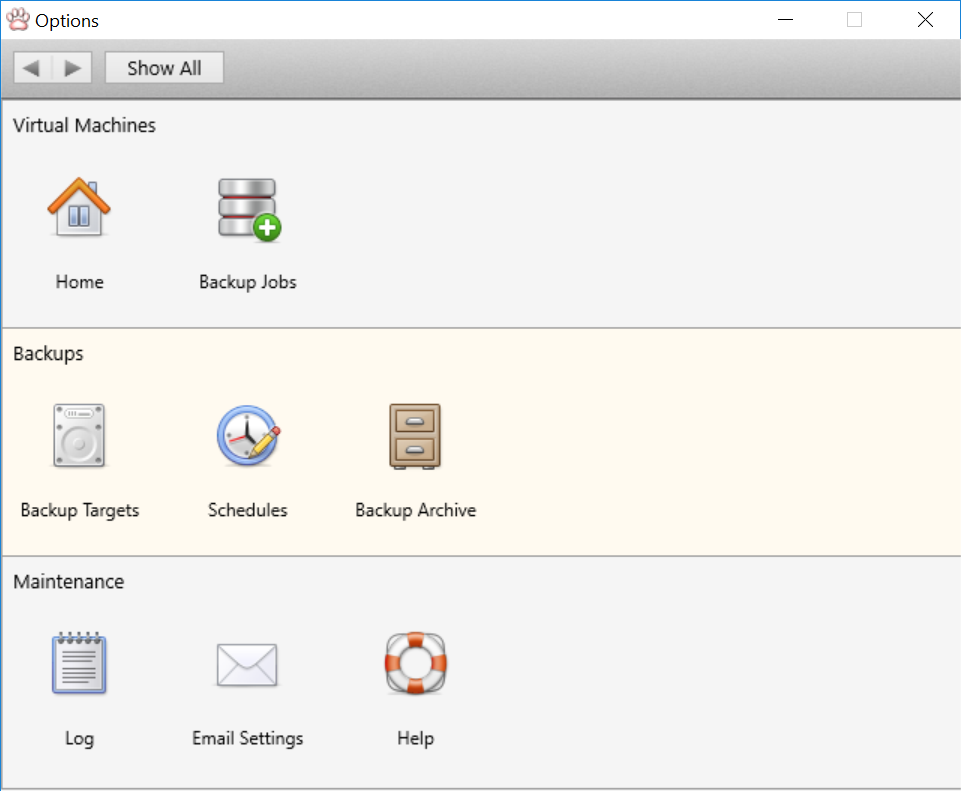
Vimalin – Options Screen
Your backups have to be saved somewhere. This means that you have to tell Vimalin where you want them to be stored. Preferably this is on an external disk or a local network location. Making a backup on the same machine is not recommended. This is because a backup that not exists anymore when your machine dies, is not a very helpful backup.
Select the Backup Targets icon to configure a location on where to store your VMs.
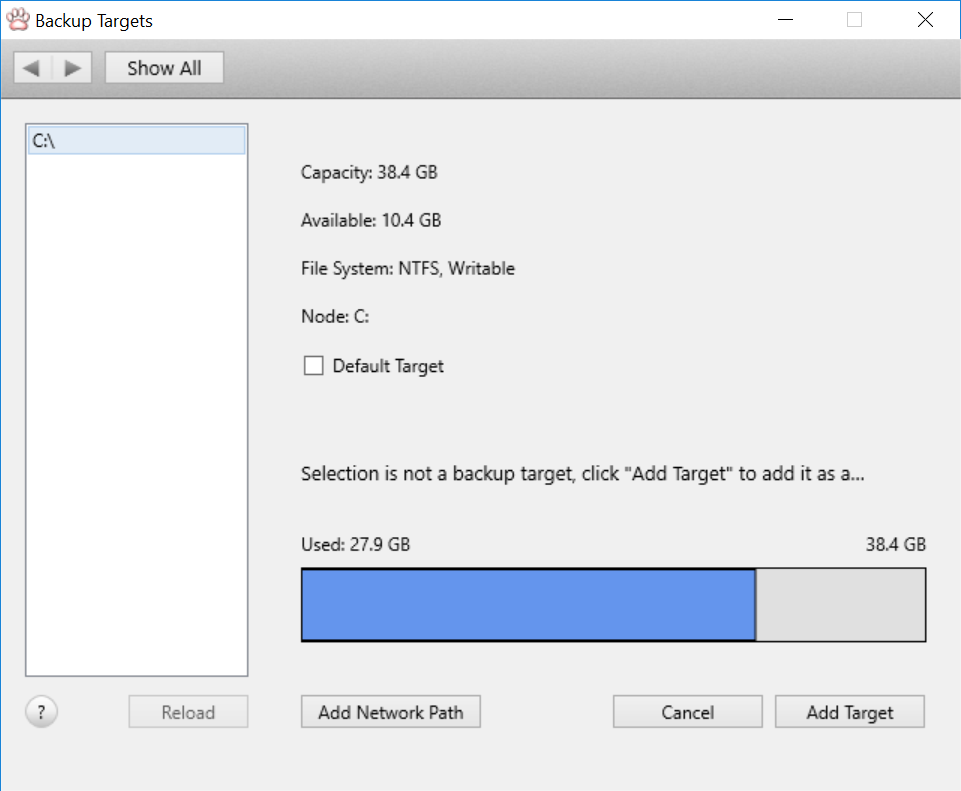
Vimalin – empty targets disk dialog
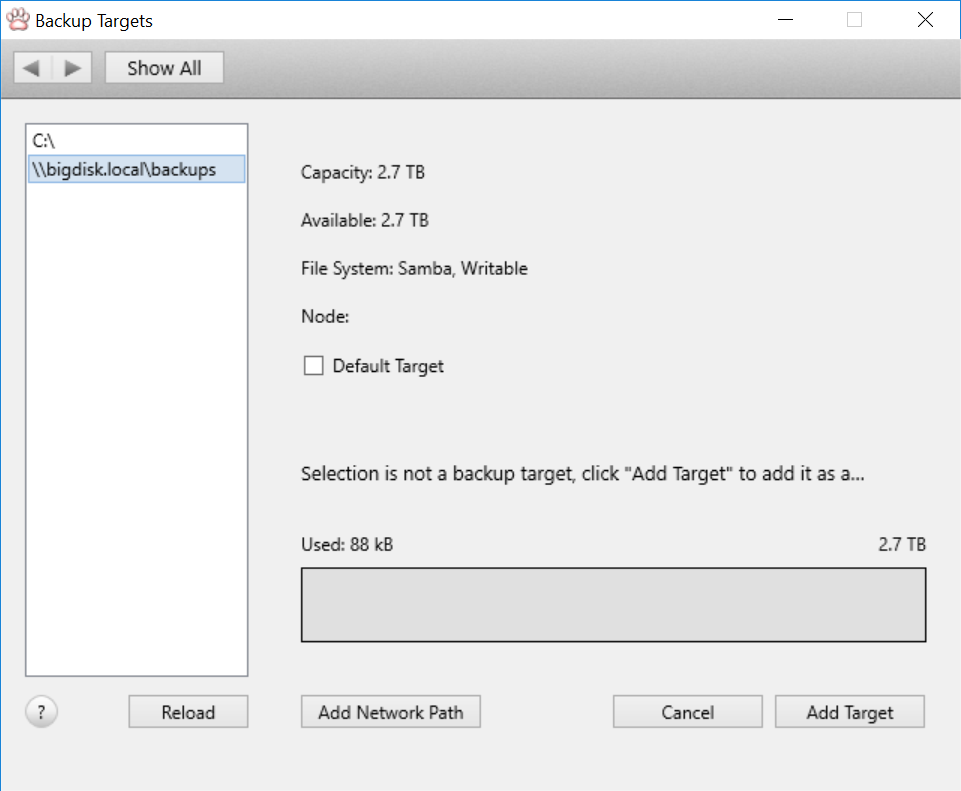
This screen displays all your configured disks and network locations, as well as the currently available disk drives. You can set multiple backup targets if you want, but for now, we set the first backup disk. The first one is also marked as your default location (which you can change later on if wanted)
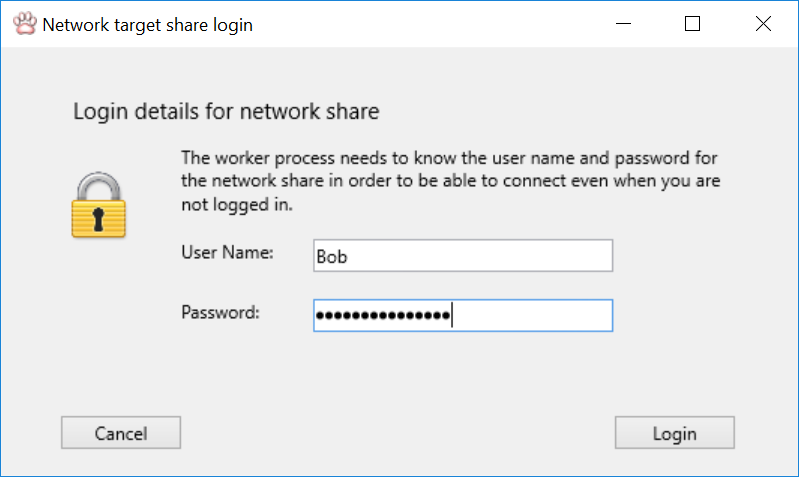
As you can see in the screen above, we only have a “C:\” drive and not much free space. So we will start by adding a network share. We know that on our network a network share is available. One that we would like to use. This share with the name “backups” is available via host name “bigdisk.local”.
Adding network shares
So let’s add that share as our first backup target.
Start by clicking the “Add Network Path” button. A new screen pops up and asks you for the name of that share.
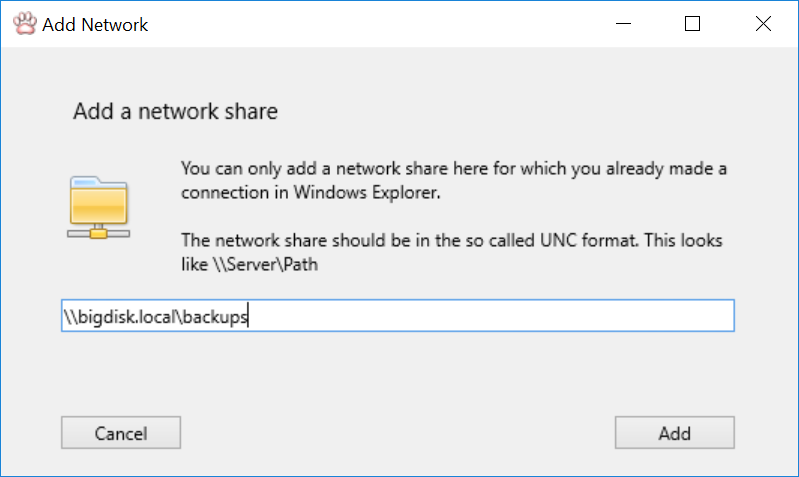
As you can see I added the name of the share here in the UNC format.
Click “Add” when done.
The new network share is now added to our backup target screen.
Wait, we are not done yet!
Next up we have to tell Vimalin that we want to use this new share for backups. We do this by adding it as a backup target.
After selecting the share on “bigdisk.local” at the list on the left, we get the screen below:
Now click the button “Add Target”.
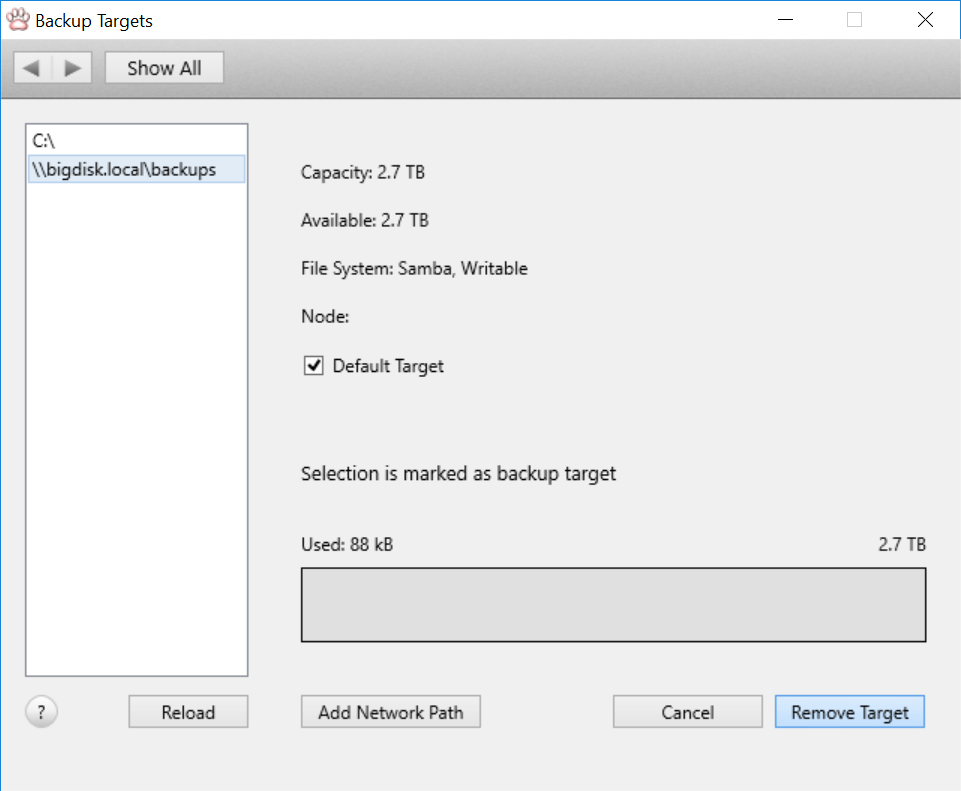
This created a new folder on your device called “Vimalin”. In the future it will put all your backups in that folder.
Note that this also put a tick in the “Default” checkbox. The default backup target is the backup location that will be used by the “Backup Now” button, or when you do not explicitly set a backup target in a job.
Backup to local disks
If you rather backup to a local disk, then that is possible as well. Select the appropriate disk drive letter before clicking the Add Target button and that device is added as a backup target. Beware though that a backup on a disk in your computer is a painful location when that computer dies.
Advanced options
If the disk was used earlier by Vimalin, then Vimalin will detect it. You will get a question to import any existing backups that are not already in your backup library.
Another option to find backups that are not yet registered is the “Reload” button. The most common use case is if you have multiple hosts using Vimalin. This button lets you load the backups from the other hosts into your backup archive when multiple host machines make backups to the same backup target.
Let’s go back to the config – click “Show All” or “Back” to return to the options screen and continue to Add a virtual machine to backup