We’re back at the options screen and ready to add a virtual machine to backup.
Let’s make our first backup. First add a virtual machine to Vimalin so that you can select it later to backup.
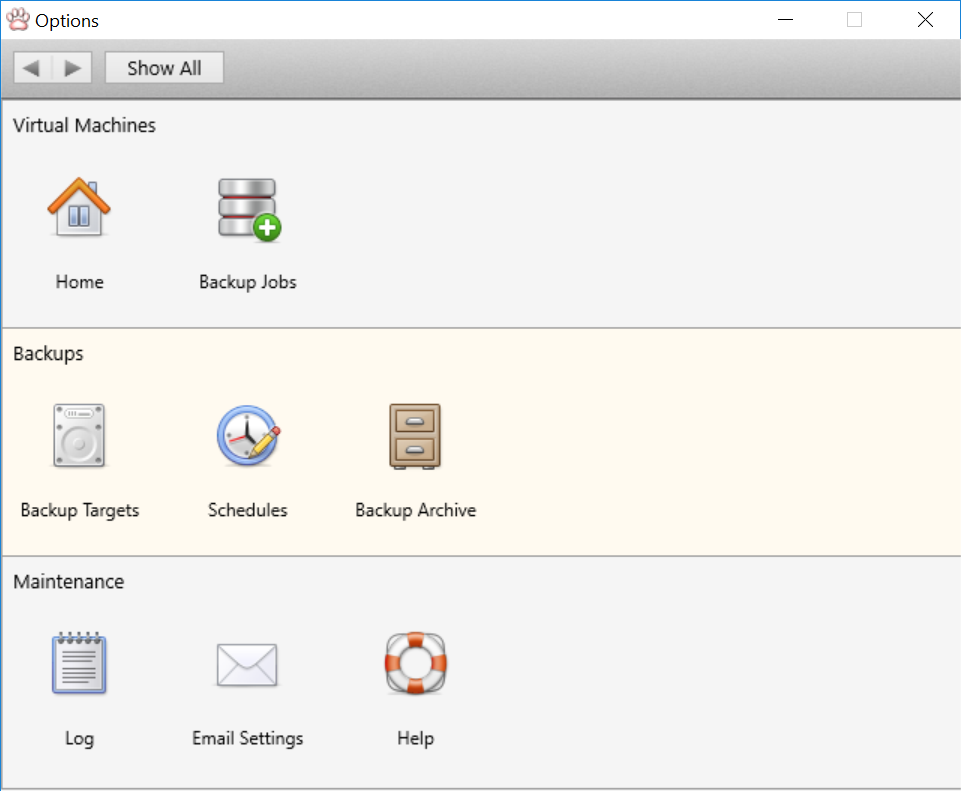
Vimalin Options Screen
Click on “Backup jobs” and the following screen appears:
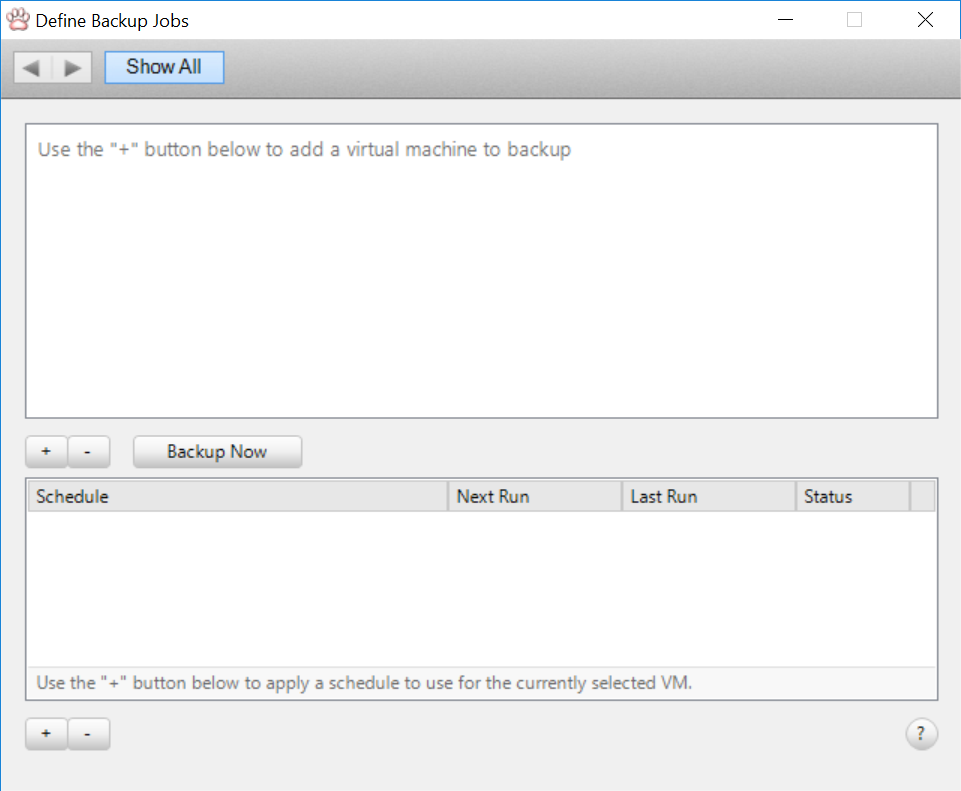
A completely empty “define backup job” screen
No virtual machines or jobs have been defined so far, so the screen is pretty empty.
Click on the “+” button right above the schedule header. With this button you can select a virtual machine.

Select a virtual machine to backup dialog
Vimalin will show a list of all the virtual machines (VM’s) that have been added to the library of VMware Fusion. In our example we are selecting a VM that has Windows Server 2016 installed. The name of the VM is the same, also “Windows Server 2016”, so we select that and then we click on the Add button.

After this we are back in the “Define Backup Jobs” screen. We have virtual machine in our list, so that we can run backups. As you can see, the “Backup Now” button has become available, because we have selected a virtual machine.
Let’s click that “Backup Now” button to run a backup on demand.