Of course one of the main features is also being able to easily restore backups. This can be done from the Backup Archive via the restore button or the context menu.
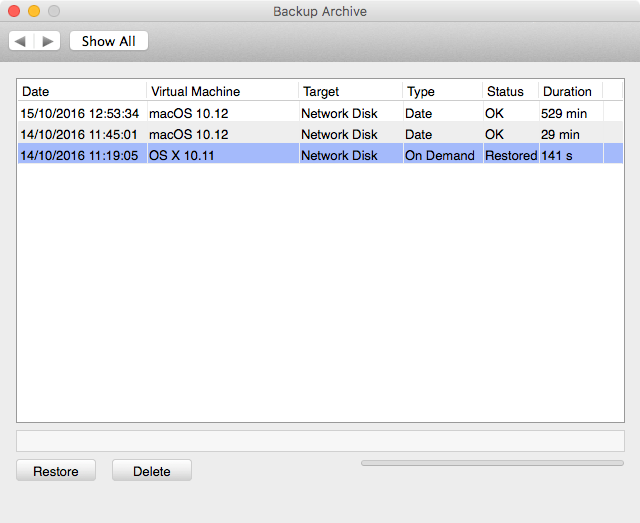
First go to the Backup Archive from the Options screen.
Select backup to restore
Then select backup of the virtual machine that you want to restore. For example let’s restore the “on Demand” backup at the bottom.
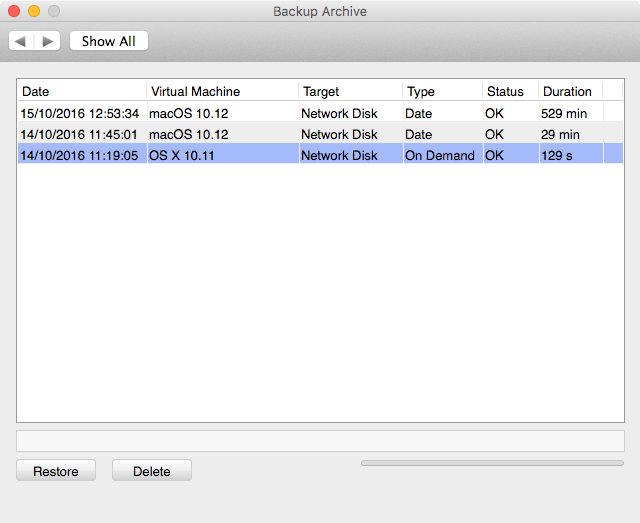
Now click the Restore button.
Select location to restore backup
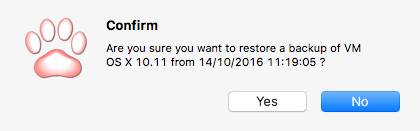
Once you click “Yes” you will be presented with a folder select dialog. This dialog asks where you want to restore the virtual machine.
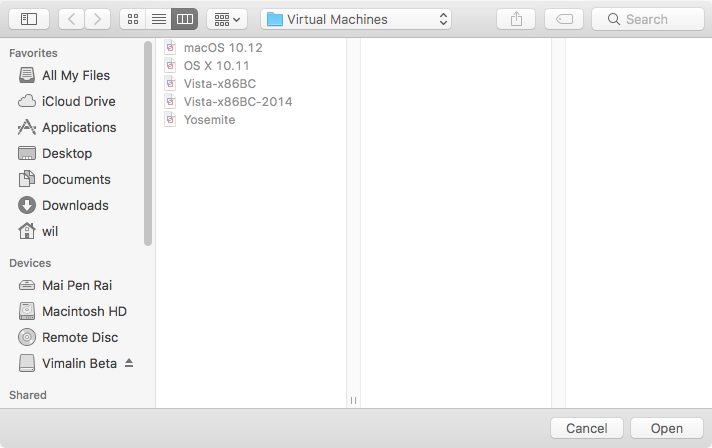
In this example we are going to restore the virtual machine in the same folder as where the original VM lives. Click “Open” and the restore starts.
This might take a while, the progress bar gives an indication on the status of the restore process.
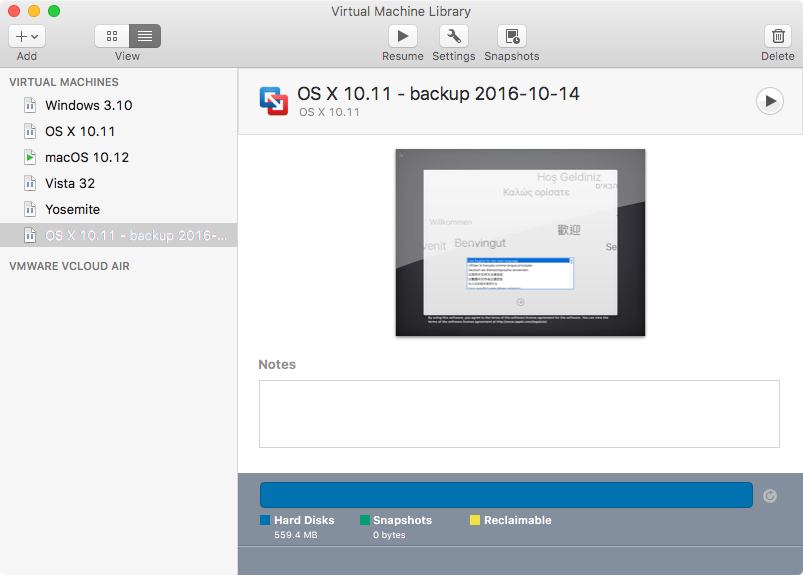
Once the backup is restored you can find it back in Finder:
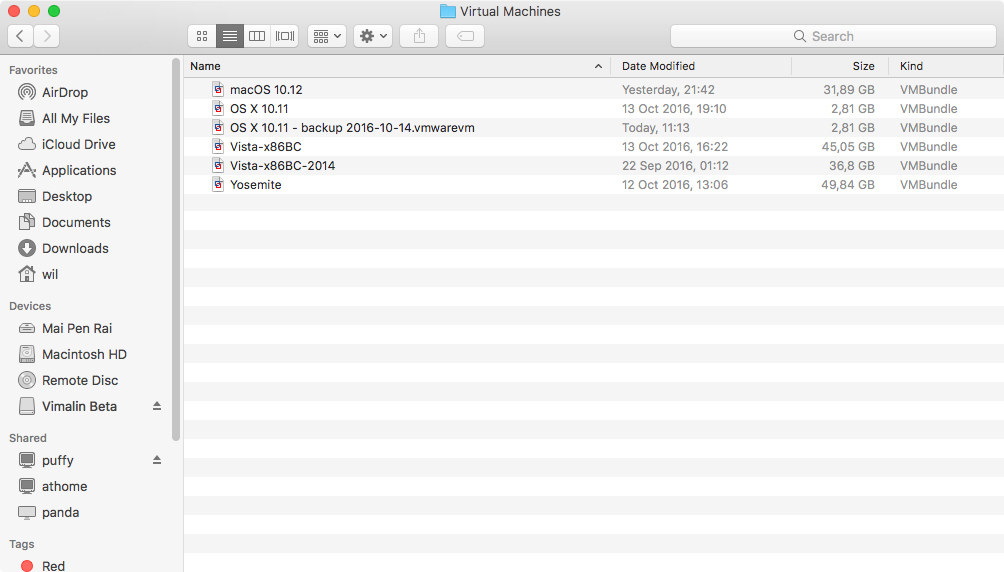
As you can see the virtual machine name has a timestamp suffix. This looks like ” – backup yyyy-mm-dd” where the time is used from when the backup was taken. It also changes the name of the VM in the virtual machine configuration file in a similar fashion. This is so you can easily pick out your restored backup and to prevent overwriting existing virtual machines. If you run it again, it would add a “(1)” suffix to the suffix.
Now you can open the restored virtual machine in VMware Fusion either via double click in Finder or via the File -> Open menu in VMware Fusion.
After that you’ll get: